Cherry Pie Filling

Cherry pie filling is one of those delightful kitchen creations that bring warmth and comfort to your home, especially during those cooler months. It’s sweet, tangy, and just the right consistency for spreading over pie crusts, pancakes, or even serving atop vanilla ice cream. The beauty of homemade cherry pie filling lies not only in its vibrant flavor but also in the rich, glossy texture that comes from cooking down fresh or frozen cherries, combined with a hint of almond extract. If you’ve had store-bought varieties, you’ll appreciate the fresh and authentic taste that homemade brings to your family’s table.
Table of Contents
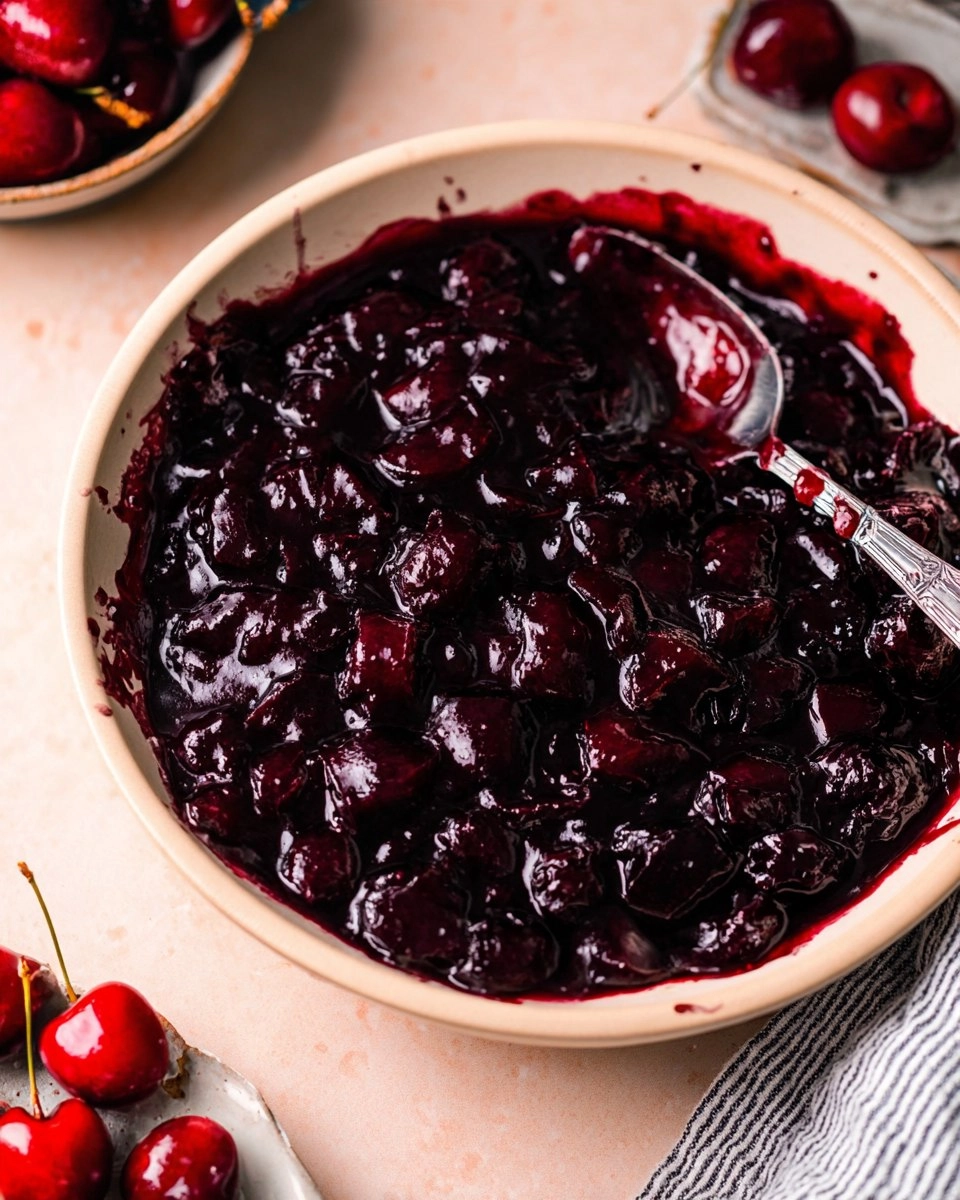
I distinctly remember the first time I made cherry pie filling. It was a warm summer afternoon, and my grandmother had brought over a basket of freshly picked cherries. We spent the afternoon pitting the cherries and chatting about our favorite dessert experiences. This experience sparked a love for making my cherry pie filling from scratch. Not only is this recipe a breeze, but it also uses simple ingredients that you likely already have on hand. It’s the kind of recipe that invites creativity. So, let’s get started on making cherry pie filling that will genuinely impress your friends and family!
Why You’ll Love This Recipe
- Simple & Quick: Whip this up in about 30 minutes for a quick sweet treat!
- Irresistible Flavor: The burst of fresh cherry flavor combined with a dash of almond is absolutely delightful.
- Eye-Catching Appeal: The rich red color of the filling makes your desserts visually stunning.
- Flexible Serving: Perfect for pies, tarts, or a delectable topping for your breakfast pancakes or ice cream!
- Diet-Friendly Options: Easily adaptable for various dietary needs, just swap in your favorite sweetener!
Ingredients You’ll Need
- 1 lb Cherries: Use fresh, pitted cherries for the best flavor, or frozen if they’re not in season. Both options deliver fantastic results.
- 1/2 cup White granulated sugar: This will enhance the natural sweetness of the cherries. If you’re looking for a lower sugar option, you can try using coconut sugar or a sugar substitute.
- 1 TBSP Cornstarch: This thickens the filling and gives it that signature pie filling consistency. If you’re looking for a gluten-free option, cornstarch is perfect for that purpose.
- 1 TBSP Water: Just enough to help dissolve the cornstarch and begin cooking down the cherries.
- 1/4 tsp Almond extract: This adds a subtle hint of warmth and complements the cherries perfectly. Vanilla extract can be a lovely substitute if you prefer.
How to Make Cherry Pie Filling
- Prep the Cherries: If using fresh cherries, pit them carefully. Then, in a medium saucepan, combine the cherries, 1/2 cup white granulated sugar, 1 tablespoon cornstarch, 1 tablespoon water, and 1/4 teaspoon almond extract for a flavor boost.
- Cook the Mixture: Heat the mixture over medium heat, stirring occasionally. As it heats, the juicy goodness from the cherries will start to separate.
- Mash to Desired Consistency: Use a potato masher to crush the cherries gently. If you prefer a thicker, more compote-like filling, mash until smooth; for chunkier filling, leave some cherries whole.
- Thicken the Filling: Continue to cook, stirring frequently, until the filling thickens. This should take about 8-10 minutes, and it should yield about 1 1/2 cups of delicious cherry filling.
- Cool and Store: Pour the cherry filling into a bowl and let it cool completely at room temperature or refrigerate for faster chilling.
Storing & Reheating
To store your cherry pie filling, simply keep it in an airtight container at room temperature for up to 2 days. For longer storage, pop it in the refrigerator where it can last up to a week. If you want to prepare it in advance, freezing is a great option! Just transfer the filling to a freezer-safe container, and it will keep beautifully for up to three months. When you’re ready to use it, thaw in the refrigerator overnight and reheat gently on the stove over low heat, stirring occasionally. Do keep in mind that the texture might slightly change after freezing, but a little stirring will refresh it back to its delicious glory.
Chef’s Helpful Tips
- Perfect Pitting: If you’re using fresh cherries, a cherry pitter is a game-changer for efficiency.
- Adjusting Sweetness: Taste your mixture as you go if you’re adjusting sweeteners, since sweetness can vary based on the ripeness of your cherries.
- Enhancing Texture: If your filling seems too thin, add a bit more cornstarch mixed in water, then cook briefly to thicken it.
- Make Ahead: The pie filling can be made a few days in advance and stored in the fridge for quick use.
- Flavor Variations: Try adding a pinch of cinnamon or nutmeg for a different taste profile!
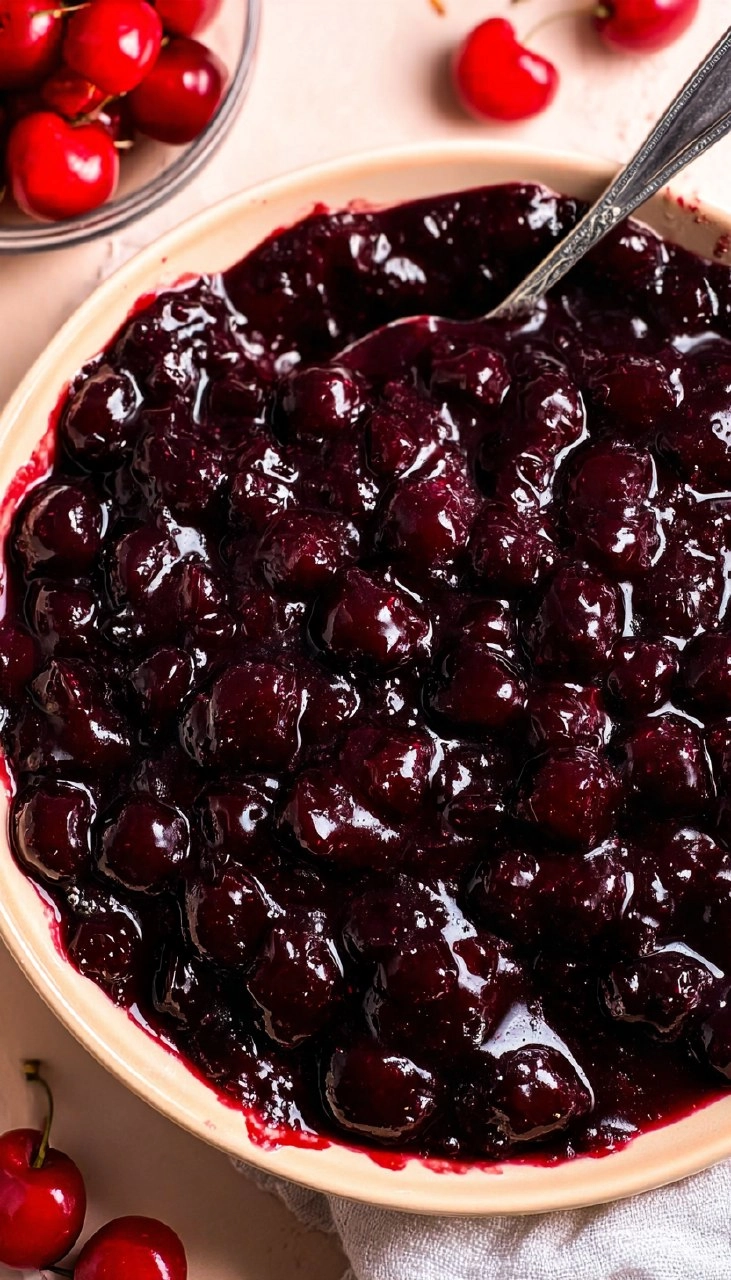
Cherry pie filling brings back memories of family gatherings and cozy desserts, and making it from scratch allows you to bring a touch of nostalgia to your kitchen. With just a handful of ingredients and minimal prep time, you can enjoy the fresh flavor that rivals anything you’ll find in a store. Feel free to play around with textures and flavors, making it uniquely yours. Whether you layer it in pies, serve it over vanilla yogurt, or simply eat it by the spoonful, each bite will bring smile and satisfaction.
Recipe FAQs
Can I use frozen cherries instead of fresh?
Absolutely! Frozen cherries are a fantastic alternative, especially when fresh cherries are out of season. Just ensure they’re thawed and drained of excess liquid before using.
How thick should the cherry pie filling be?
Your cherry pie filling should be thick enough to hold its shape when spooned onto a pie crust but still have a slight pourable consistency. If it doesn’t reach the desired thickness after cooking, a little more cornstarch mixed with water can help.
Can I make this recipe vegan-friendly?
Yes! This recipe is naturally vegan. Just ensure you’re using a sweetener like coconut sugar if desired.
How do I know when the filling is done?
The filling is done once it has thickened to a custard-like consistency and starts to bubble on the sides. It should coat the back of a spoon when stirred.
PrintMore Desserts & Appetizers Recipes
- Classic Cucumber Tomato Salad
- Easy Jam Thumbprint Cookies with a Heart-Shaped Twist
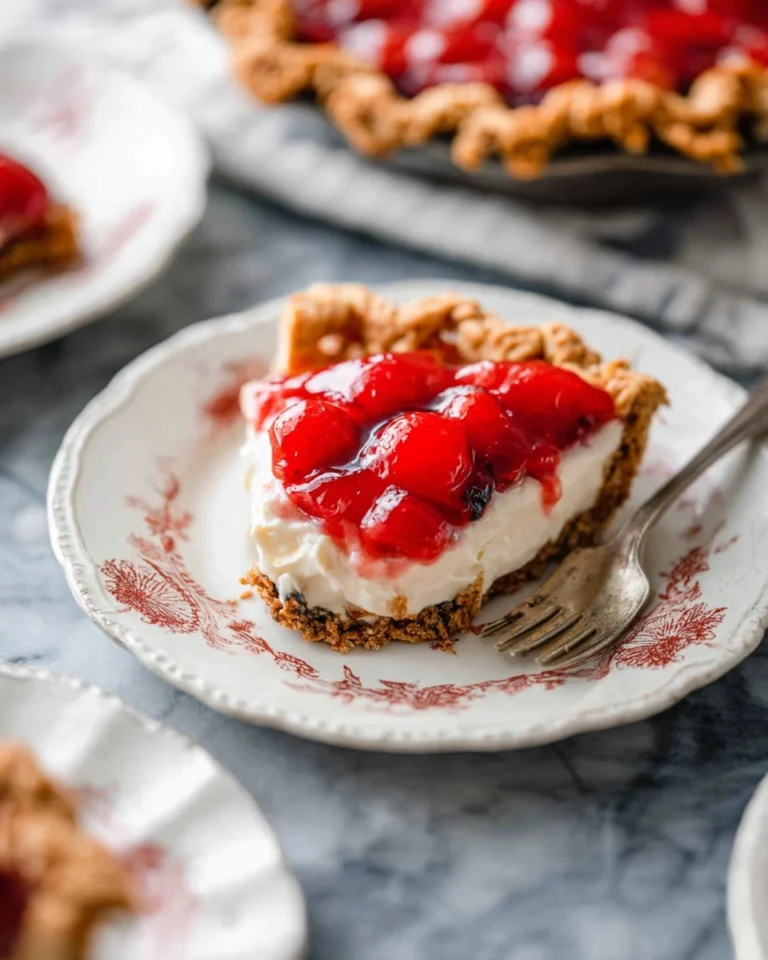
- No Bake Cherry Cheesecake
- Cherry Hand Pies
- Blueberry Cream Cheese Pie
Did You Enjoy Making This Recipe? Please rate this recipe with ⭐⭐⭐⭐⭐ or leave a comment.
📖 Recipe Card
Cherry Pie Filling
- Prep Time: 5 minutes
- Cook Time: 15 minutes
- Total Time: 20 minutes
- Yield: 1 1/2 cups 1x
- Category: Desserts & Appetizers
- Method: Stovetop
- Cuisine: American
Description
This Cherry Pie Filling is irresistibly delicious, featuring fresh or frozen cherries combined with sugar and almond extract, perfect for tarts and pies.
Ingredients
- 1 lb Cherries, fresh or frozen
- 1/2 cup White granulated sugar
- 1 TBSP Cornstarch
- 1 TBSP Water
- 1/4 tsp Almond extract
Instructions
- If using fresh cherries, pit them first. In a saucepan, combine cherries, sugar, cornstarch, water, and almond extract, mixing well.
- Heat over medium. Cook until the cherry juices start to separate and the cherries soften. Mash the cherries to your desired consistency, aiming for a compote texture.
- Continue cooking until the mixture thickens. This will yield about 1 1/2 cups of cherry filling. Transfer to a bowl and allow to cool completely, or refrigerate for quicker chilling.
Notes
Use either fresh or frozen cherries based on availability.
Adjust the amount of sugar depending on the sweetness of the cherries used.
This filling can be used in various desserts like pies and tarts.
Nutrition
- Serving Size: 1/4 cup
- Calories: 130
- Sugar: 28g
- Sodium: 1mg
- Fat: 0g
- Saturated Fat: 0g
- Unsaturated Fat: 0g
- Trans Fat: 0g
- Carbohydrates: 34g
- Fiber: 1g
- Protein: 1g
- Cholesterol: 0mg