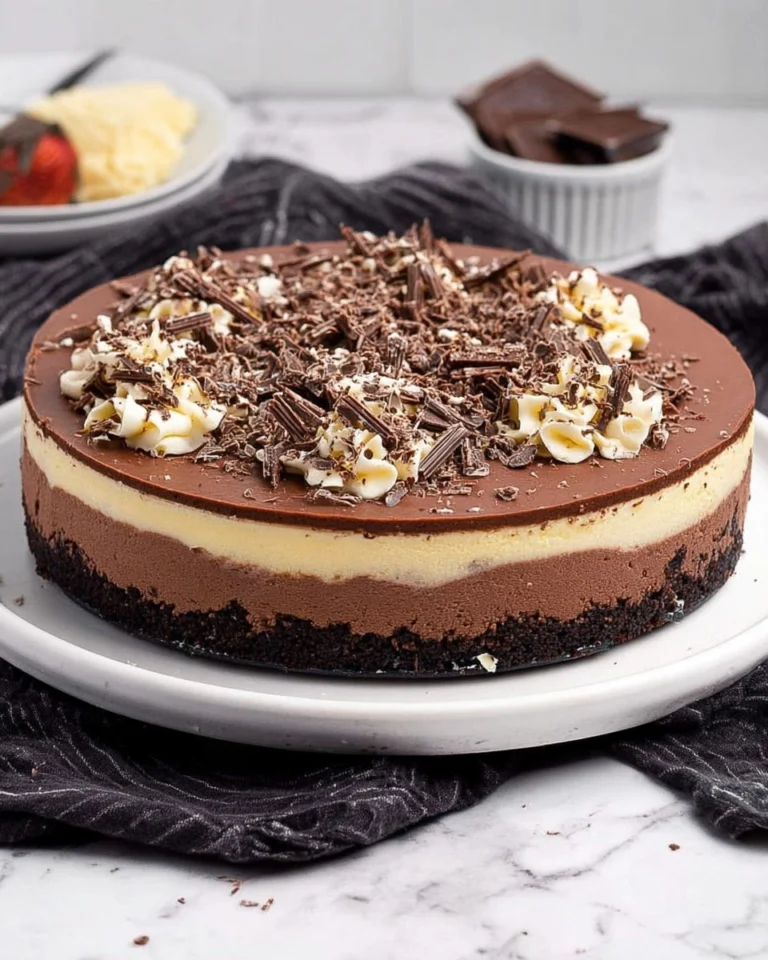
The BEST Pumpkin Pie Recipe (From Scratch)

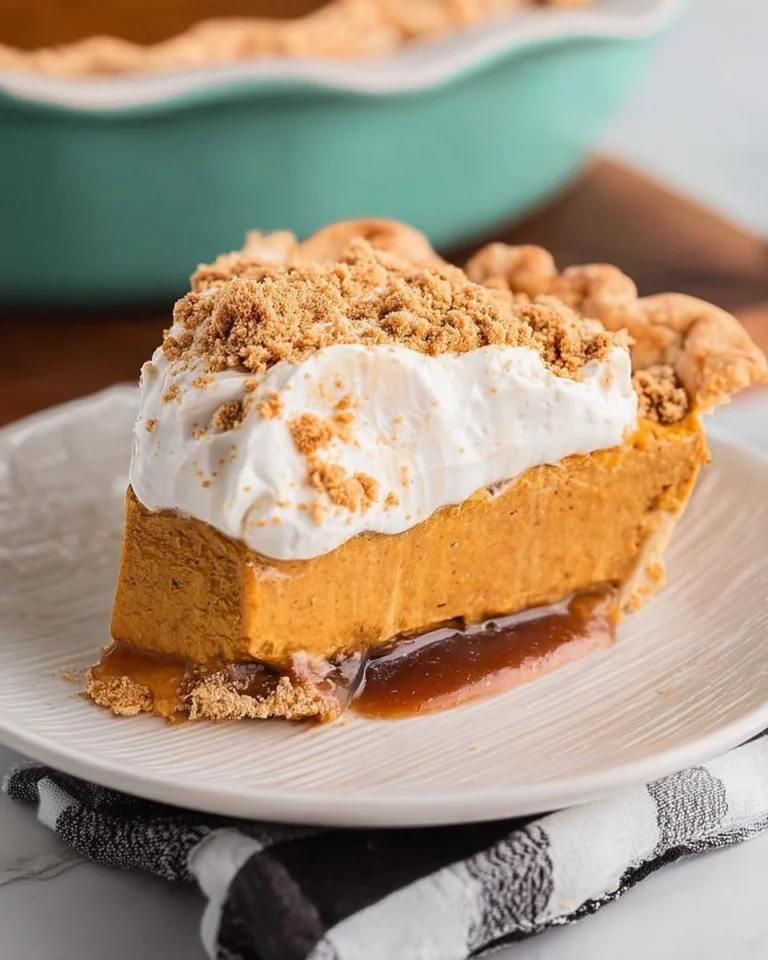
The holidays just wouldn’t be complete without a beloved slice of pumpkin pie. This isn’t just any pumpkin pie; it is the BEST Pumpkin Pie Recipe (From Scratch) you can whip up in your own kitchen. With a flaky, buttery crust and a smooth, spiced filling that’s just the right balance of sweetness and warmth, it draws the whole family to the table. The scent alone of cinnamon and nutmeg wafting from the oven is enough to create a sense of festivity and anticipation as everyone awaits a slice of this seasonal treat.
Table of Contents
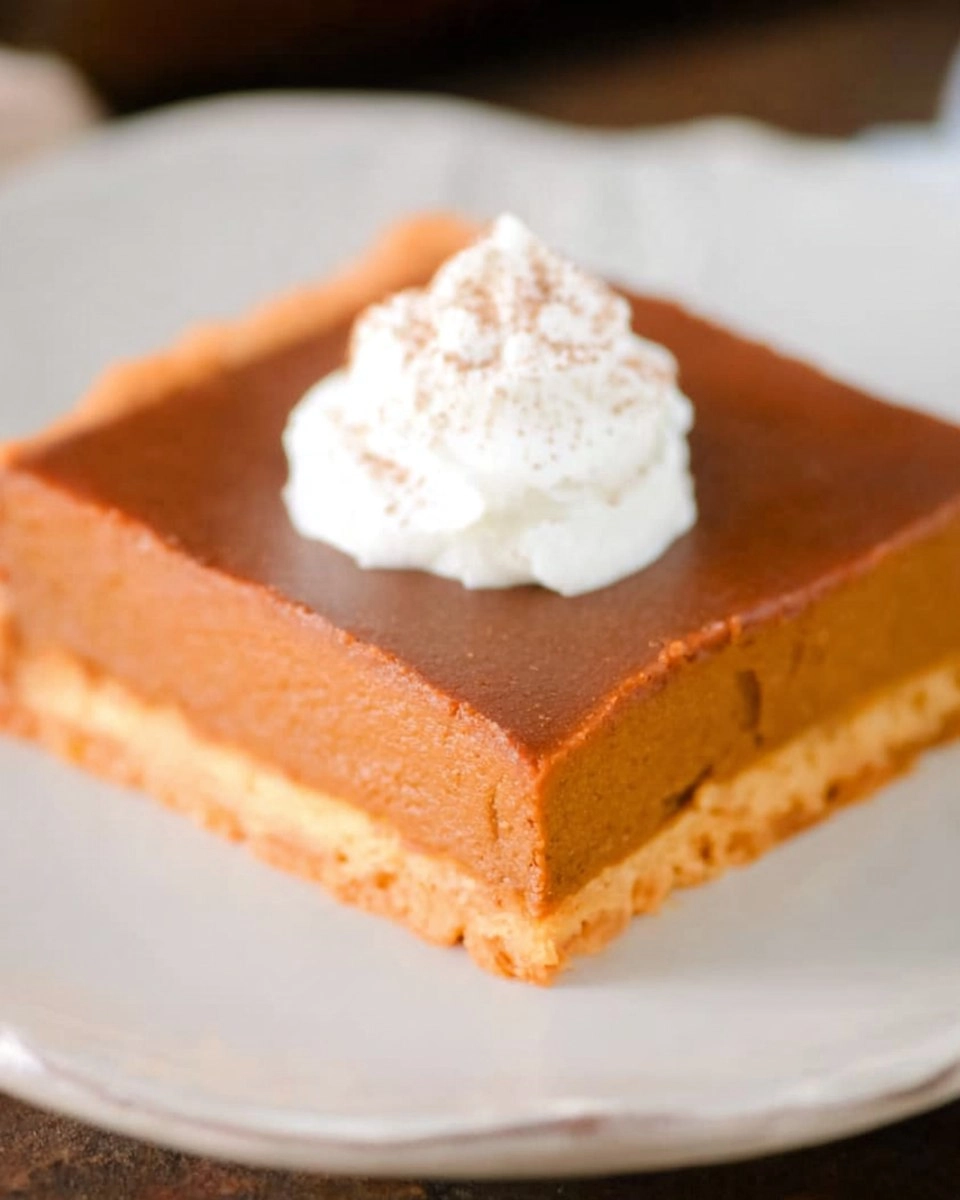
I fondly remember the first time I attempted to make pumpkin pie from scratch during a family Thanksgiving. Nervous and a bit unsure, I followed my mom’s well-worn recipe and was delighted when The BEST Pumpkin Pie Recipe (From Scratch) emerged golden and glorious from the oven. Now, every year, I look forward to recreating this classic with my own twist. It’s a tradition that brings about joyful moments in the kitchen and around the dining table, forging connections and memories that last long after the last bite.
Why You’ll Love This Recipe
- Simple & Quick: With an easy preparation process, you can have this pie ready in just over two hours!
- Irresistible Flavor: Experience the dreamy combination of rich pumpkin and warm spices that evoke feelings of cozy autumn evenings.
- Eye-Catching Appeal: The golden crust and smooth filling make it a stunning centerpiece for any dessert table.
- Flexible Serving: Perfect for Thanksgiving, Christmas, or simply as a delightful snack when you’re craving something sweet.
- Diet-Friendly Options: This recipe is adaptable; feel free to experiment with gluten-free crusts or dairy-free milk for different dietary needs.
Ingredients You’ll Need
- 1¼ cups all-purpose flour: Essential for the crust, this flour gives it structure and flakiness. You can substitute with a gluten-free blend if needed.
- 1/2 teaspoon salt: This enhances the flavors in both the crust and filling.
- 4 ounces Crisco: Shortening creates a tender, flaky crust. If desired, you can use unsalted butter for a richer flavor.
- 1/8 cup water, cold: This helps bind the crust ingredients together. Always use chilled water for the best results.
- 15 ounces pumpkin puree: Pure pumpkin puree, not pumpkin pie filling, offers a fresh and authentic pumpkin flavor. Canned or homemade works perfectly!
- 12 ounces evaporated milk: This adds creaminess to the filling. For a dairy-free version, use coconut milk.
- 3/4 cup light brown sugar: Adds a deep caramel-like sweetness. You can substitute with granulated sugar for a less intense sweetness.
- 1½ teaspoons cinnamon: An essential spice for warmth and flavor, bringing that cozy, nostalgic feeling to each bite.
- 1/2 teaspoon salt: Balances the sweetness in the filling.
- 1/2 teaspoon ground ginger: Adds a zing to the spiced filling, enhancing its depth.
- 1/2 teaspoon ground cloves: Offers a hint of warmth and earthiness.
- 2 large eggs: These provide structure and help set the filling in the pie.
How to Make The BEST Pumpkin Pie Recipe (From Scratch)
Make the Pie Crust: In a large mixing bowl, combine 1¼ cups all-purpose flour, 1/2 teaspoon salt, and 4 ounces Crisco using your fingers until the mixture resembles coarse meal. Create a well in the center and add 1/8 cup cold water. Gently mix until all the flour is moistened. Be careful not to overmix! Shape the dough into a flat disc, wrap in plastic, and refrigerate for about 30 minutes to 1 hour.
Roll Out the Dough: After resting, remove the dough from the fridge and transfer it to a lightly floured surface. With a rolling pin, roll out the dough from the center to create a circle about 1/4 inch thick and large enough to hang over your 9-inch pie plate by at least 1/2 inch.
Transfer to Pie Plate: Roll the dough onto the rolling pin and transfer it to the pie plate. Trim any excess dough, leaving about 1/2 inch hanging over the edges. Tuck the dough under itself to create a smooth edge, then crimp with your fingers for a decorative finish.
Prepare the Filling: In a blender, combine 15 ounces pumpkin puree, 12 ounces evaporated milk, 3/4 cup light brown sugar, 1½ teaspoons cinnamon, 1/2 teaspoon salt, 1/2 teaspoon ground ginger, 1/2 teaspoon ground cloves, and 2 large eggs. Blend on low until perfectly smooth and combined.
Preheat the Oven: Preheat your oven to 425 degrees F, making sure it’s nice and hot before you bake.
Bake the Pie: Pour the pumpkin filling into the prepared pie crust. Bake in the preheated oven for 15 minutes. Reduce the oven temperature to 325 degrees F and continue baking for an additional 45-50 minutes, or until the filling is set in the center and the crust is golden brown. If the edges start to brown too quickly, cover them with aluminum foil.
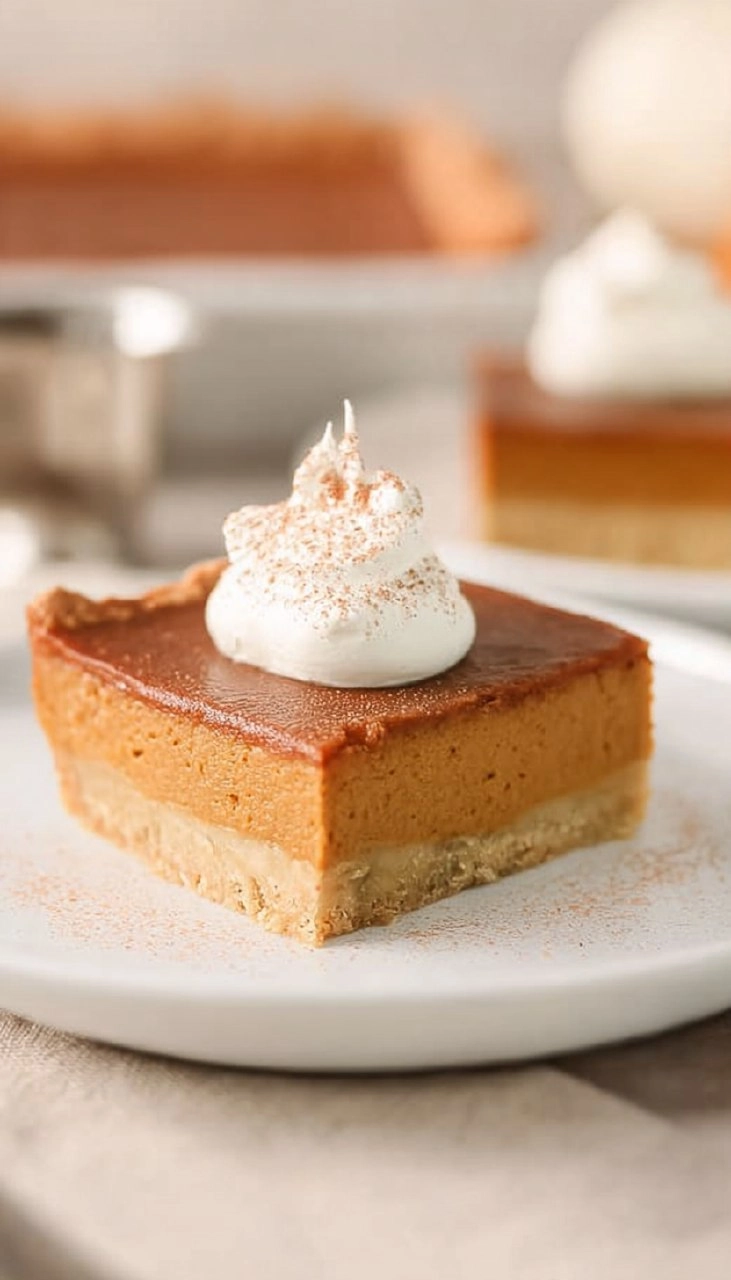
Cool and Serve: Once baked, remove from the oven and let the pie cool before slicing. This cooling period helps the filling set fully. Enjoy your delicious creation, perhaps with a dollop of whipped cream on top!
Storing & Reheating
To store your pie, allow it to cool completely, and then cover it with plastic wrap or transfer it to an airtight container. At room temperature, it can safely sit for up to two days; for longer freshness, refrigerate for about four days. If you’d like to freeze it, wrap the cooled pie tightly in plastic wrap and foil—this way, it will last in the freezer for up to three months. When ready to serve again, reheat individual slices in a 350-degree F oven for about 10 minutes, refreshing the texture and flavor of your beloved pie.
Chef’s Helpful Tips
- Avoid overworking the crust dough; this helps maintain flakiness.
- Ensure your butter or shortening is cold to get that wonderfully tender crust.
- If your pie filling bubbles over, use a baking sheet underneath to catch any spills.
- For an extra touch, add a tablespoon of vanilla extract to the filling mix for a flavor boost.
- If you find your filling slightly runny, adding another egg can help set it better as it bakes.
Each year as I continue to bake The BEST Pumpkin Pie Recipe (From Scratch), I find myself thinking of how often recipes unite families over flavors, traditions, and stories. I encourage you to try it for yourself and make it your own—whether through adding spices, using different crust types, or just swapping notes with close friends. There’s joy in every slice, especially when shared.
Recipe FAQs
Can I use fresh pumpkin instead of canned puree?
Absolutely! To use fresh pumpkin, cook and puree a small sugar pumpkin. Roast it until tender, scoop out the flesh, and blend until smooth. The texture may be slightly different, but it offers a fresh flavor that many enjoy.
How do I know when my pumpkin pie is done baking?
The pie is done when the filling is set in the center; it should not jiggle excessively. The edges will be golden brown while the center might still look slightly shiny. Baking it longer will help firm it up as it cools.
Can I make the crust ahead of time?
Yes, you can prepare the pie crust ahead of time. Once shaped into a disc and wrapped in plastic, it can sit in the refrigerator for up to three days, or you can freeze it for up to three months. Just remember to thaw it in the fridge before rolling out.
What’s the best way to serve pumpkin pie?
Pumpkin pie is delicious on its own, but a dollop of whipped cream can elevate the experience! Consider adding spices like nutmeg or cinnamon to the whipped cream for extra flavor.
PrintMore Desserts & Appetizers Recipes
Did You Enjoy Making This Recipe? Please rate this recipe with ⭐⭐⭐⭐⭐ or leave a comment.
📖 Recipe Card
The BEST Pumpkin Pie Recipe (From Scratch)
- Prep Time: 30 minutes
- Cook Time: 60 minutes
- Total Time: 1 hour 30 minutes
- Yield: 1 pie 1x
- Category: Desserts
- Method: Baking
- Cuisine: American
Description
This delightful Pumpkin Pie features a crisp, homemade crust and a smooth filling of pumpkin puree, spices, and creamy evaporated milk. Perfect for any occasion, it’s rich in flavor and easy to prepare, making it an ideal choice for family gatherings or holiday feasts.
Ingredients
- 1¼ cups all-purpose flour
- 1/2 teaspoon salt
- 4 ounces Crisco
- 1/8 cup cold water
- 15 ounces pumpkin puree
- 12 ounces evaporated milk
- 3/4 cup light brown sugar
- 1½ teaspoons cinnamon
- 1/2 teaspoon salt
- 1/2 teaspoon ground ginger
- 1/2 teaspoon ground cloves
- 2 large eggs
Instructions
- In a large mixing bowl, combine the flour, salt, and Crisco, mixing with your fingers until it resembles coarse meal. Make a well in the center and add the cold water.
- Gently bring the flour mixture from the sides into the center, mixing until moistened. Avoid overmixing. Form the dough into a flat disc, wrap in plastic, and refrigerate for 30 minutes to 1 hour.
- Once rested, transfer the dough to a floured surface and roll out to a circle about 1/4" thick, large enough to overhang the pie plate by 1/2".
- Transfer the rolled dough to a 9" pie plate, trim excess leaving a 1/2" overhang, tuck it under for a smooth edge, and crimp for decoration.
Notes
For a golden crust, brush the dough with an egg wash before baking.
Make sure the pumpkin puree is well blended for a smooth filling. You can prepare the crust a day ahead to save time.
Chill the pie for a couple of hours before serving to let flavors meld.
Nutrition
- Serving Size: 1 slice
- Calories: 320
- Sugar: 18g
- Sodium: 260mg
- Fat: 16g
- Saturated Fat: 4g
- Unsaturated Fat: 10g
- Trans Fat: 0g
- Carbohydrates: 43g
- Fiber: 2g
- Protein: 5g
- Cholesterol: 50mg